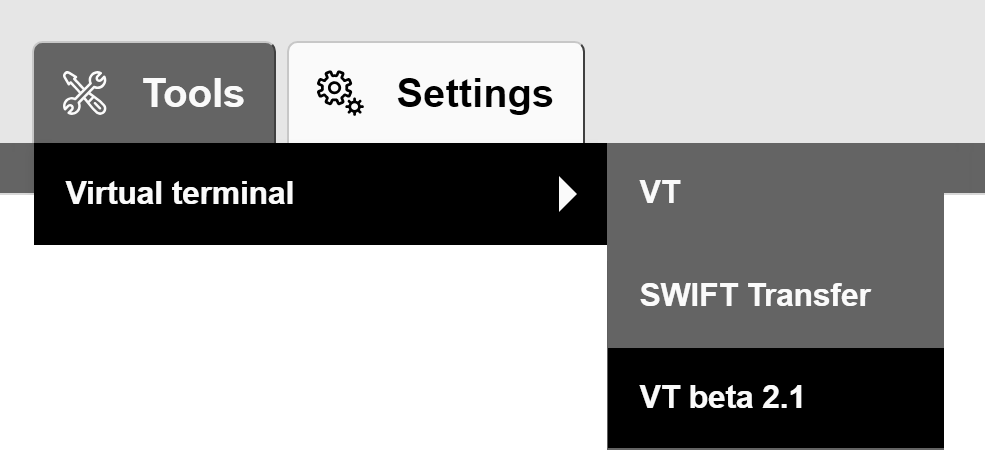
3.11. Virtual terminal
3.11.1. Overview
3.11.2. Asymmetric cryptography
Generate a pair of public and private keys
Import private key to Browser Console
var privateKeyPem = `-----BEGIN PRIVATE KEY-----\
     MIIEvQIBADANBgkqhkiG9w0BAQEFAASCBKcwggSjAgEAAoIBAQDJzUVnqQhDWF2H
     pxAMcyo7f+ucIEJS3AQHG0ET/dxJ0qssGymIjdzelJ3XI+oTq2y9TTimQjtujoeh
     6zl44WrXCbJLCUDWsNjlh7hmBorpU6tJVhw1466CAxkktPJHkMqJYF0efegIfOwU
     otTzwY4tGlN6iWK0aMJ5ZWhWpZDbgap72vrRXKfCN6/JeTUdsOI7PAeZw0me04jZ
     8Lova9FVIbVzOJaFGwSUroMvXevIB8rOD57c3VCLTxE3aGNMz+9DLl6GCm8WZ1US
     HmiHybqgvGLyQswBPFcVzFgd7BpgZs+JAzYDh8ZGANvjA5F9u0b6Ynb3Mpm3+9Rl
     CtvSxKwpAgMBAAECggEAZ6+hro5KIZggjleHRm5Rz7p9S33DtiE3rJMTT/tKmV+1
     9XaLU49YYcDIjMb2OV8GAwnPRpWXRcnT5J0grXxc0do4kpdRij3ZY63lT/6ilxoX
     Uxn8aq/udPy0iYizR5QcjJNHpSgZ9WqCPmQfuJLFw2TYaYh3f6yn54n0Hzj4gd9l
     tsol4xeTKQ47c/vUF7kHfD8IYzL8jv3a3++IqzCwJ3jIpTENsBYAgrkbYN9f9GHD
     BvX3sz6tgFaYU2R8YbDvA0Yq9tVPwYrPvbhwoht6PsjE/R0UK6yqnKPEADdzWvP8
     frXmmtJ35rAymqUWfpqx9RdZ0NMR7J8ut8C5365PJQKBgQD+UidVWut7d9qvhZKq
     +T5qtasH5qkD34idFl4Ay8xsSntqTrXr7q1Ff+FQY6R+f/8IzB4ZqgnV58+8AEMc
     gJzNmkf9L119SCQDxRV/TgW2eHrUrI9XS2AI5tmyzaGY1xL4fCQQMvqNAGERT6sS
     XJRt8WjuGmE4zeqxNB0XY7u1OwKBgQDLIlnksOrPw00lWUbXHSHwdfBzjYU97KVu
     GnOl5fsCmlKanqHUfd/4StnRXpl3l56hig8mYsHV5EcfUEX98PaSbTAy8Lk5y5E9
     ye2ENOgl/IyMgHPtT6spFKm7jRmpulqG4FVCGxQl3n6/nSmztA3S1zLZzi0guI0E
     oxXCbG796wKBgC8NSgOrr5eHRClnIAyL0nVxqPPsQ+bYi3Dsu3WQPwDmAtFXQKcm
     4F3UW/5AgSV6Ttf007jR0cIGglN5BPGYBeqwGZOJGNXd6/PambCU4c+xmKASUO7I
     njrnYu2Gx9f8KqFYbl+k3uAJauwF/lOGV1vD5zLuJICa8Enap2s1Y3wTAoGBAKrx
     QnLISyIB+XbXtVyrYHdJ2Mp1Ks6cye5pBi9y5RQgqCkEG62FLCh3XOvrTvysNEs+
     slccPoBv9UYtuGjmEanRhwEnQMiZPaWgu2dJWp8081X9dxEavS/5+oghSpphf3MH
     b9gMj5z6qvE3IfPfLs7iWCGgdquVgt6HG3Wc6J53AoGAc+ZYE8kMj2p9rtu1uJgX
     +VMbbdLEUqz3BPC9Tzq+eglUlYmwUK1xynKZfkEMcu5PncaBaNLU+GmYKKgw6wZS
     soEF1KvbBB4o6nZdlGo0BirOQ0ijHDWUvtuiaaWAQoQAhQwgqqV2IOC4UfkZ6ORf
     A/UW43A9wZq9kaEgb0YWOes=\
     -----END PRIVATE KEY-----`;

// Algorithm Object
var algorithmKeyGen = {
  name: "RSASSA-PKCS1-v1_5",
  // RsaHashedKeyGenParams
  modulusLength: 2048,
  publicExponent: new Uint8Array([0x01, 0x00, 0x01]),  // Equivalent to 65537
  hash: {
    name: "SHA-256"
  }
};

function parsePem(pemString, type) {
    const expectedPrefix = "-----BEGIN " + type + "-----";
    const expectedPosftix = "-----END " + type + "-----";

    pemString = pemString.trim();
    if (!pemString.startsWith(expectedPrefix)) {
        throw "Expected PEM to start with " + expectedPrefix;
    }
    if (!pemString.endsWith(expectedPosftix)) {
        throw "Expected PEM to end with " + expectedPosftix;
    }
    const base64 = pemString.substring(expectedPrefix.length, pemString.length - expectedPosftix.length).trim();
    return Uint8Array.from(atob(base64), c => c.charCodeAt(0))
}

function parsePrivateKeyPem(pem) {
    return parsePem(pem, 'PRIVATE KEY')
}

function storePrivateKey(privateKey) {
    var request = indexedDB.open("keys");

    request.onupgradeneeded = function() {
      // The database did not previously exist, so create object stores and indexes.
      var db = request.result;
      var store = db.createObjectStore("privateKeys", {keyPath: "name"});

      // Populate with initial data.
      store.put({name: "first", key: privateKey});
    };

    request.onsuccess = function() {
      db = request.result;
    };
}

var privateKeyArray = parsePrivateKeyPem(privateKeyPem);
var NON_EXTRACTABLE = false;
window.crypto.subtle.importKey("pkcs8", privateKeyArray, algorithmKeyGen, NON_EXTRACTABLE, ['sign'])
.then(function(privateKey) {
        storePrivateKey(privateKey);
        privateKeyPem = null;
        privateKeyArray = null;
    }
);
Warning
If private key have been integrated into the browser, but it is impossible to make a transactions, please, clear browser’s cache and try again to integrate the private key.
Note
If the proposed code is not suitable or if more information is required about the Web Crypto API, please visit the official site https://developer.mozilla.org/en-US/docs/Web/API/Web_Crypto_API.
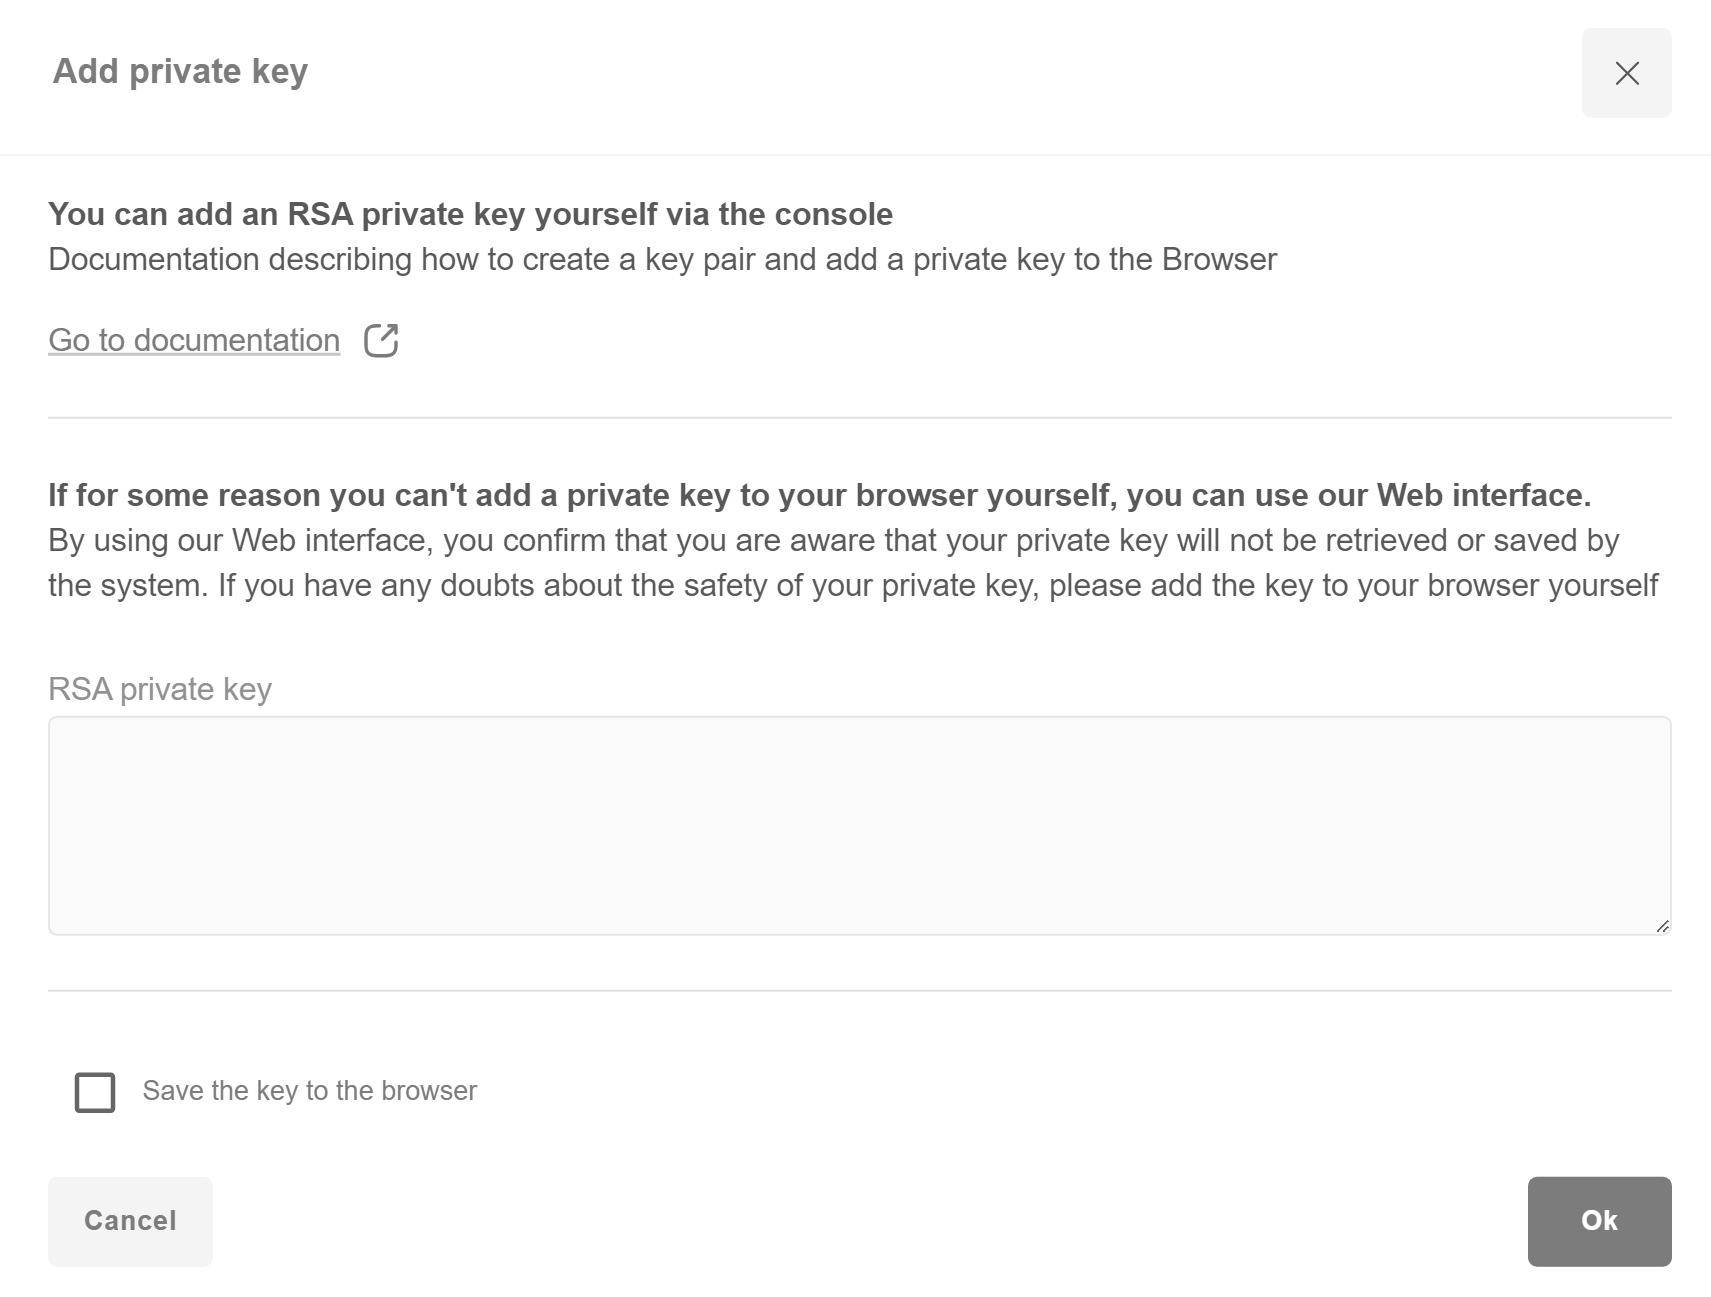
Import private key to User Interface

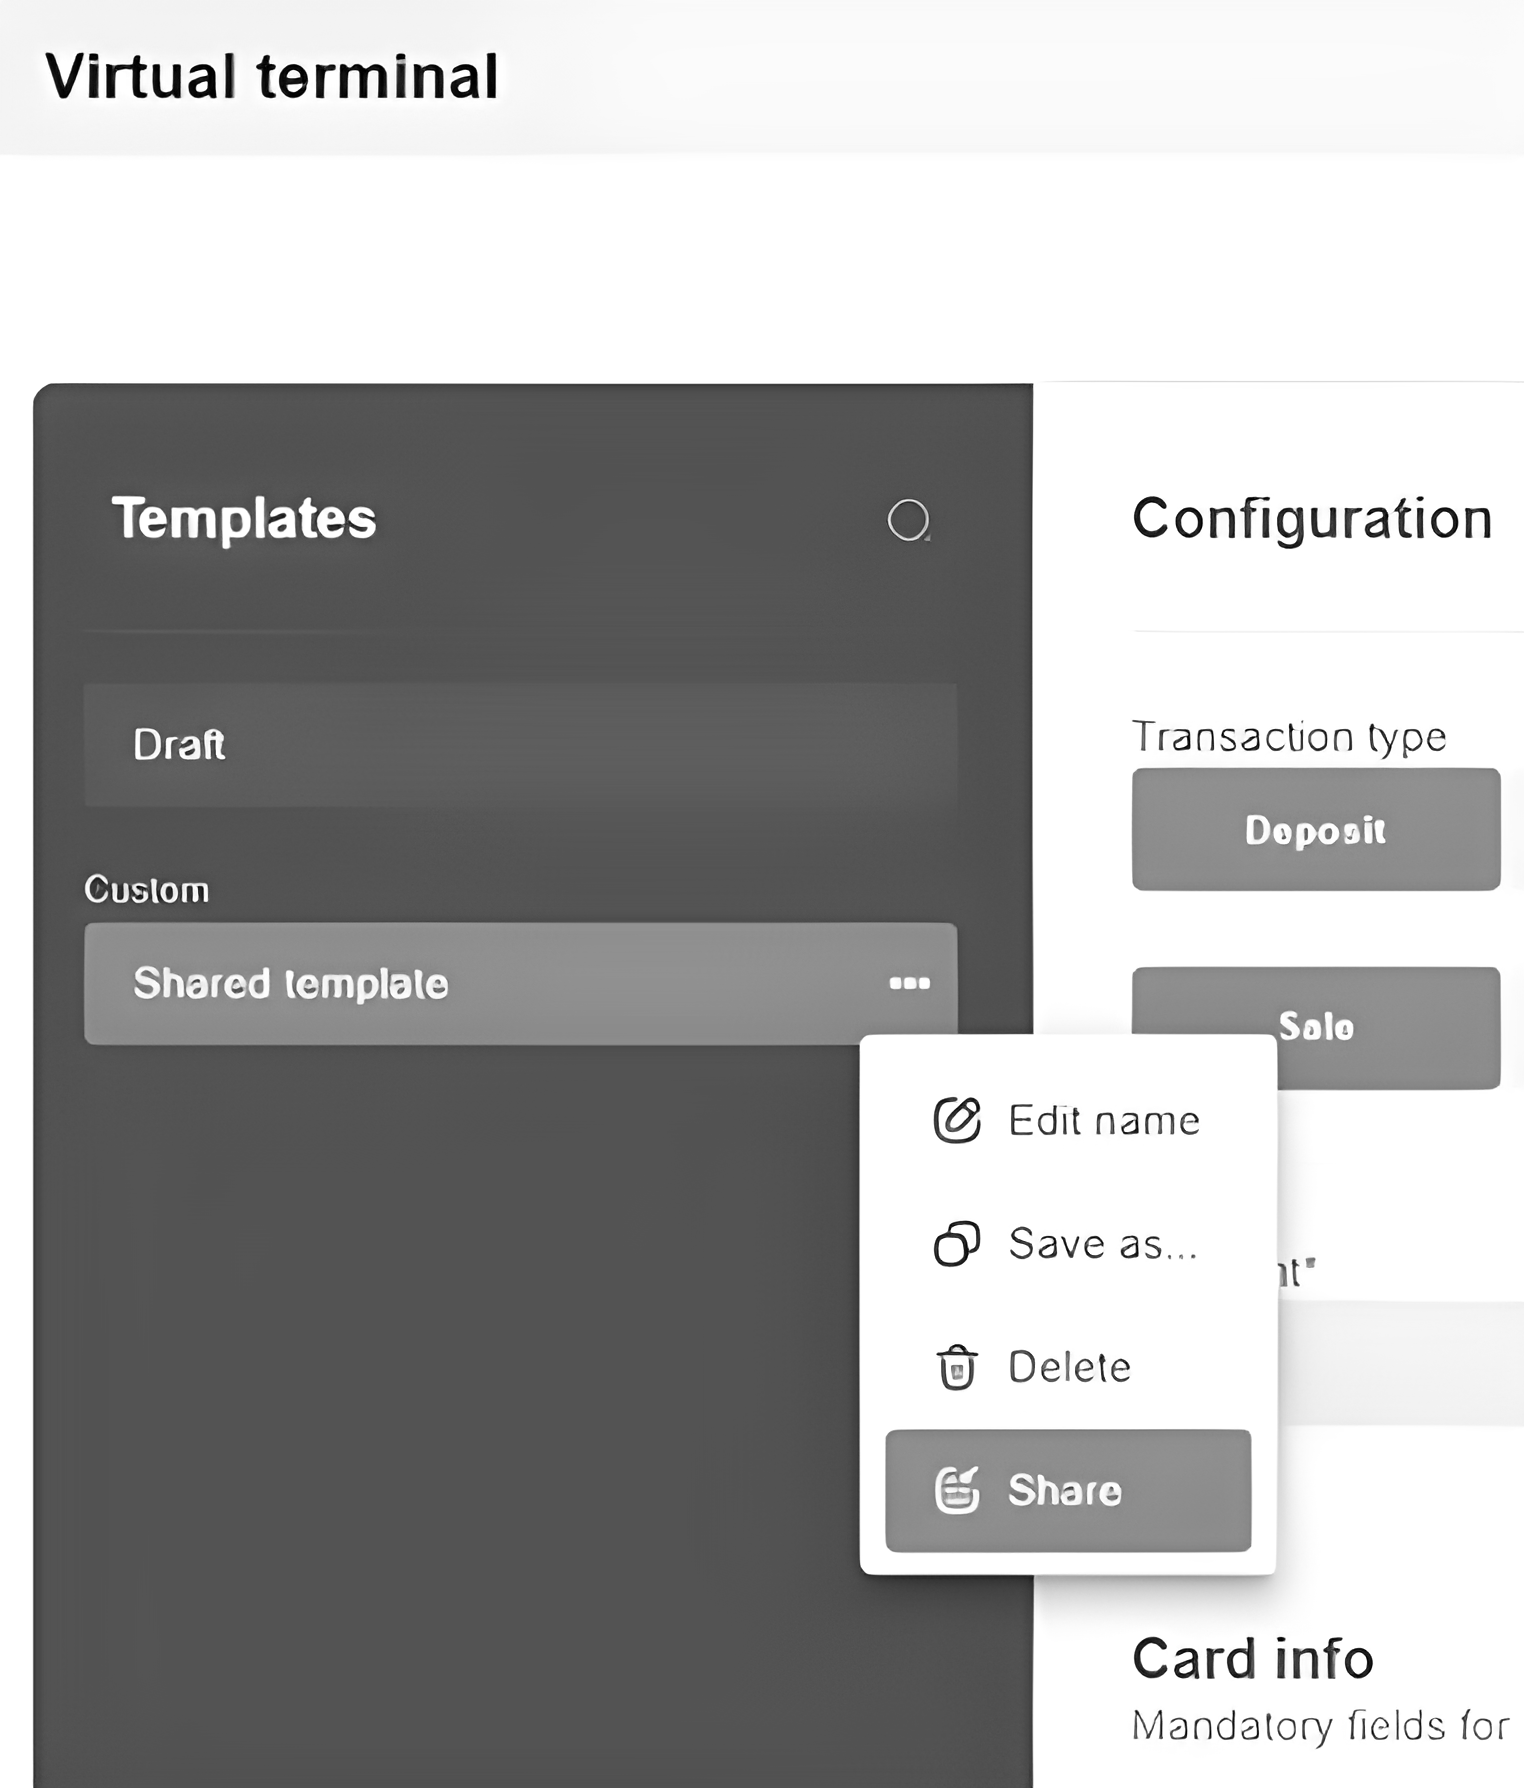
3.11.3. VT interface details
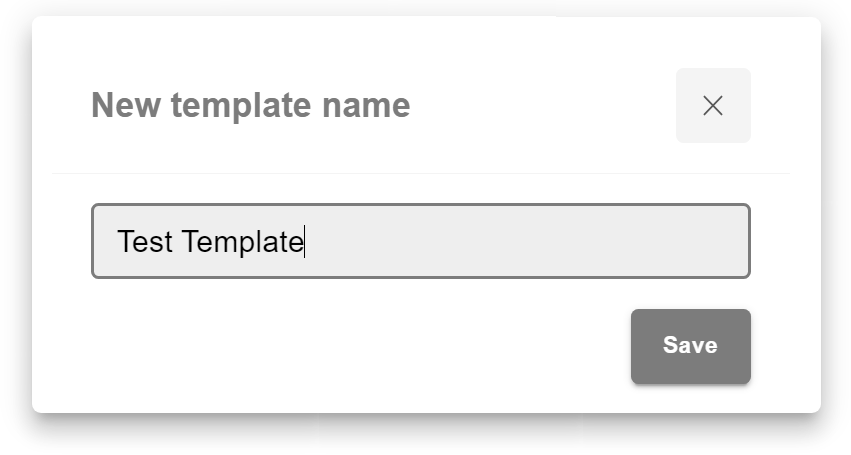
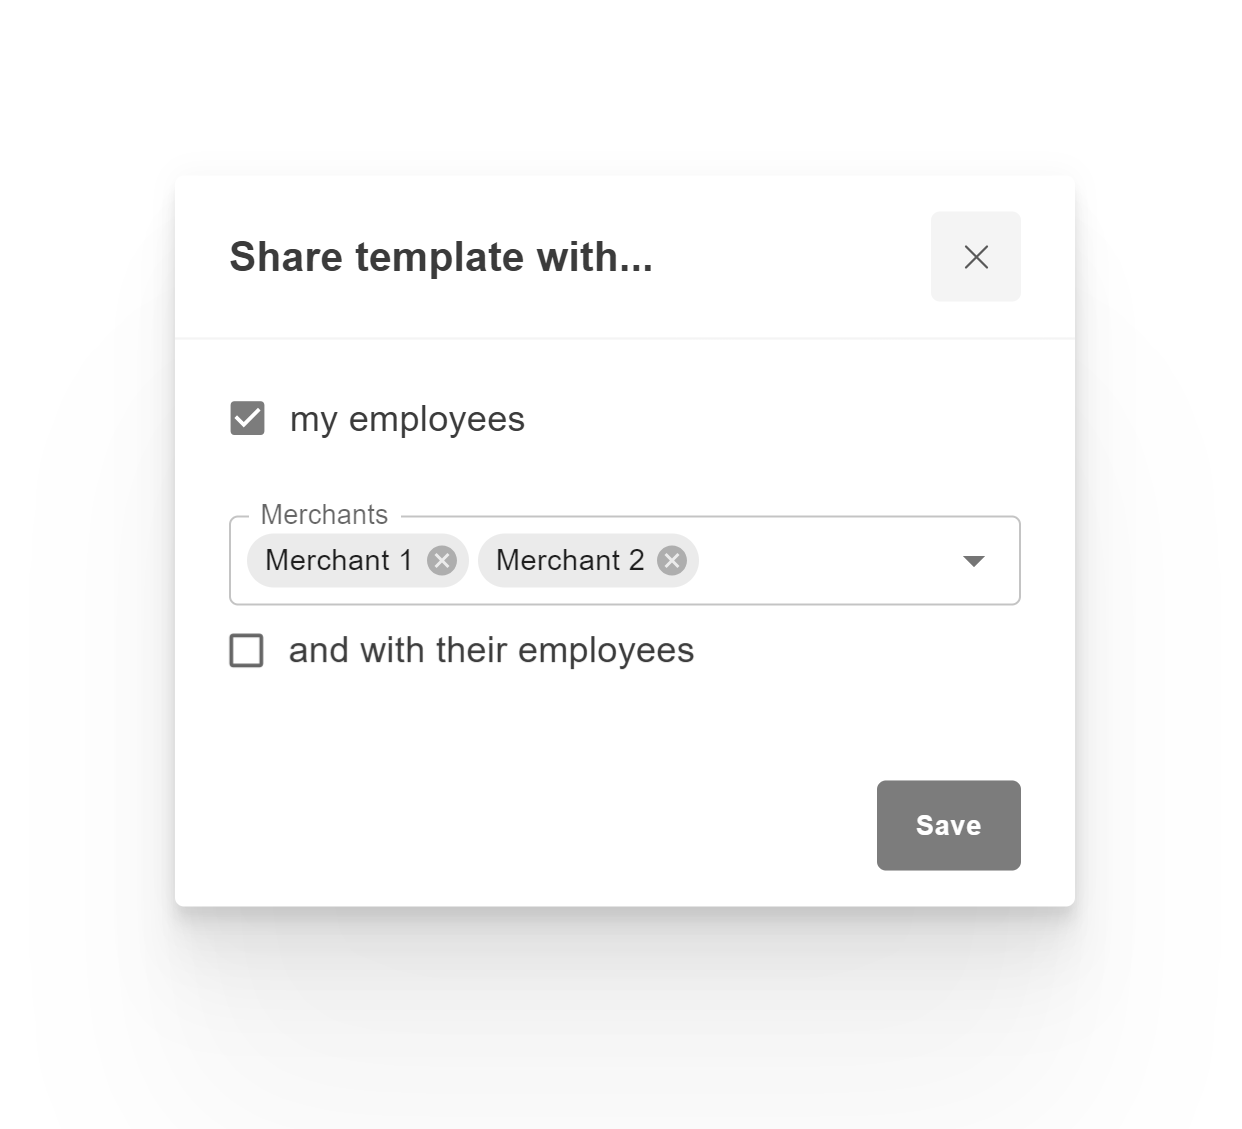
3.11.4. Template management

3.11.5. Transaction specification
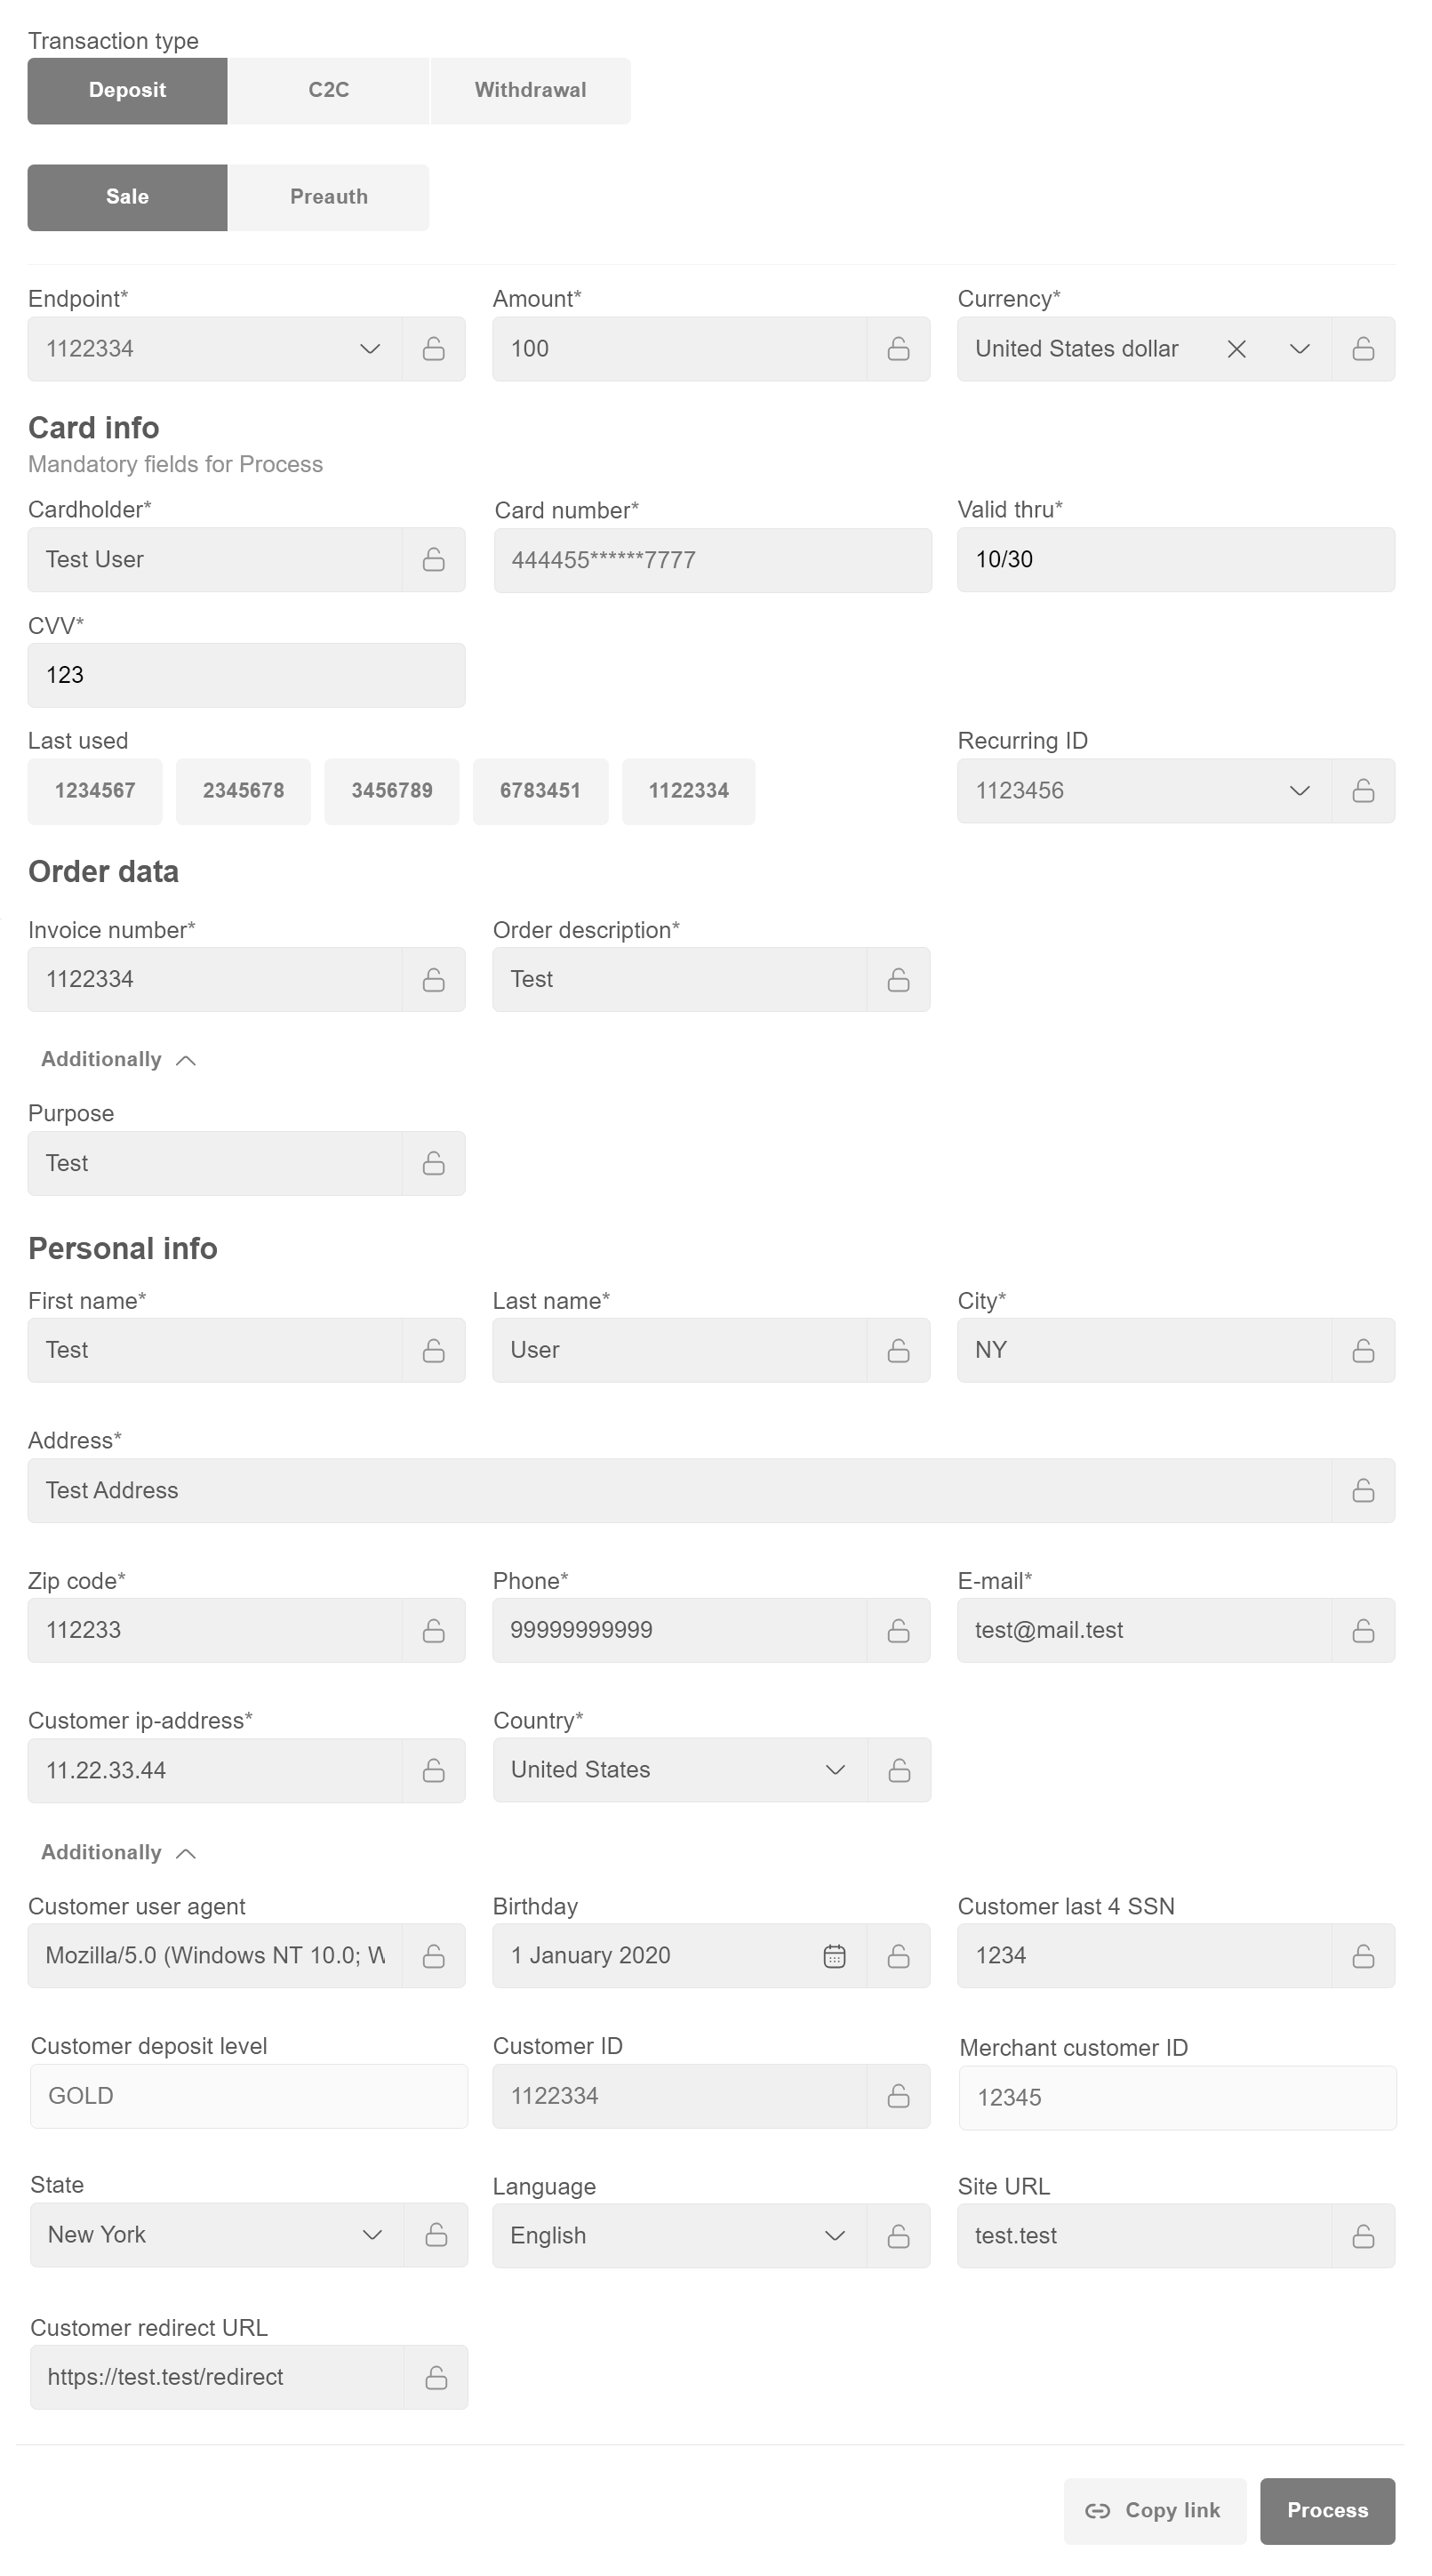
Deposit
Sale
- Use “Copy link” button to generate the payment link and send it to the customer. This flow is relevant for transactions which require additional information submitted by customer on the form (cardholder data, 3DS check, etc).
- Use “Process” button if transaction doesn’t require any additional information submitted by customer (e.g. noCVV non3D recurring transactions).
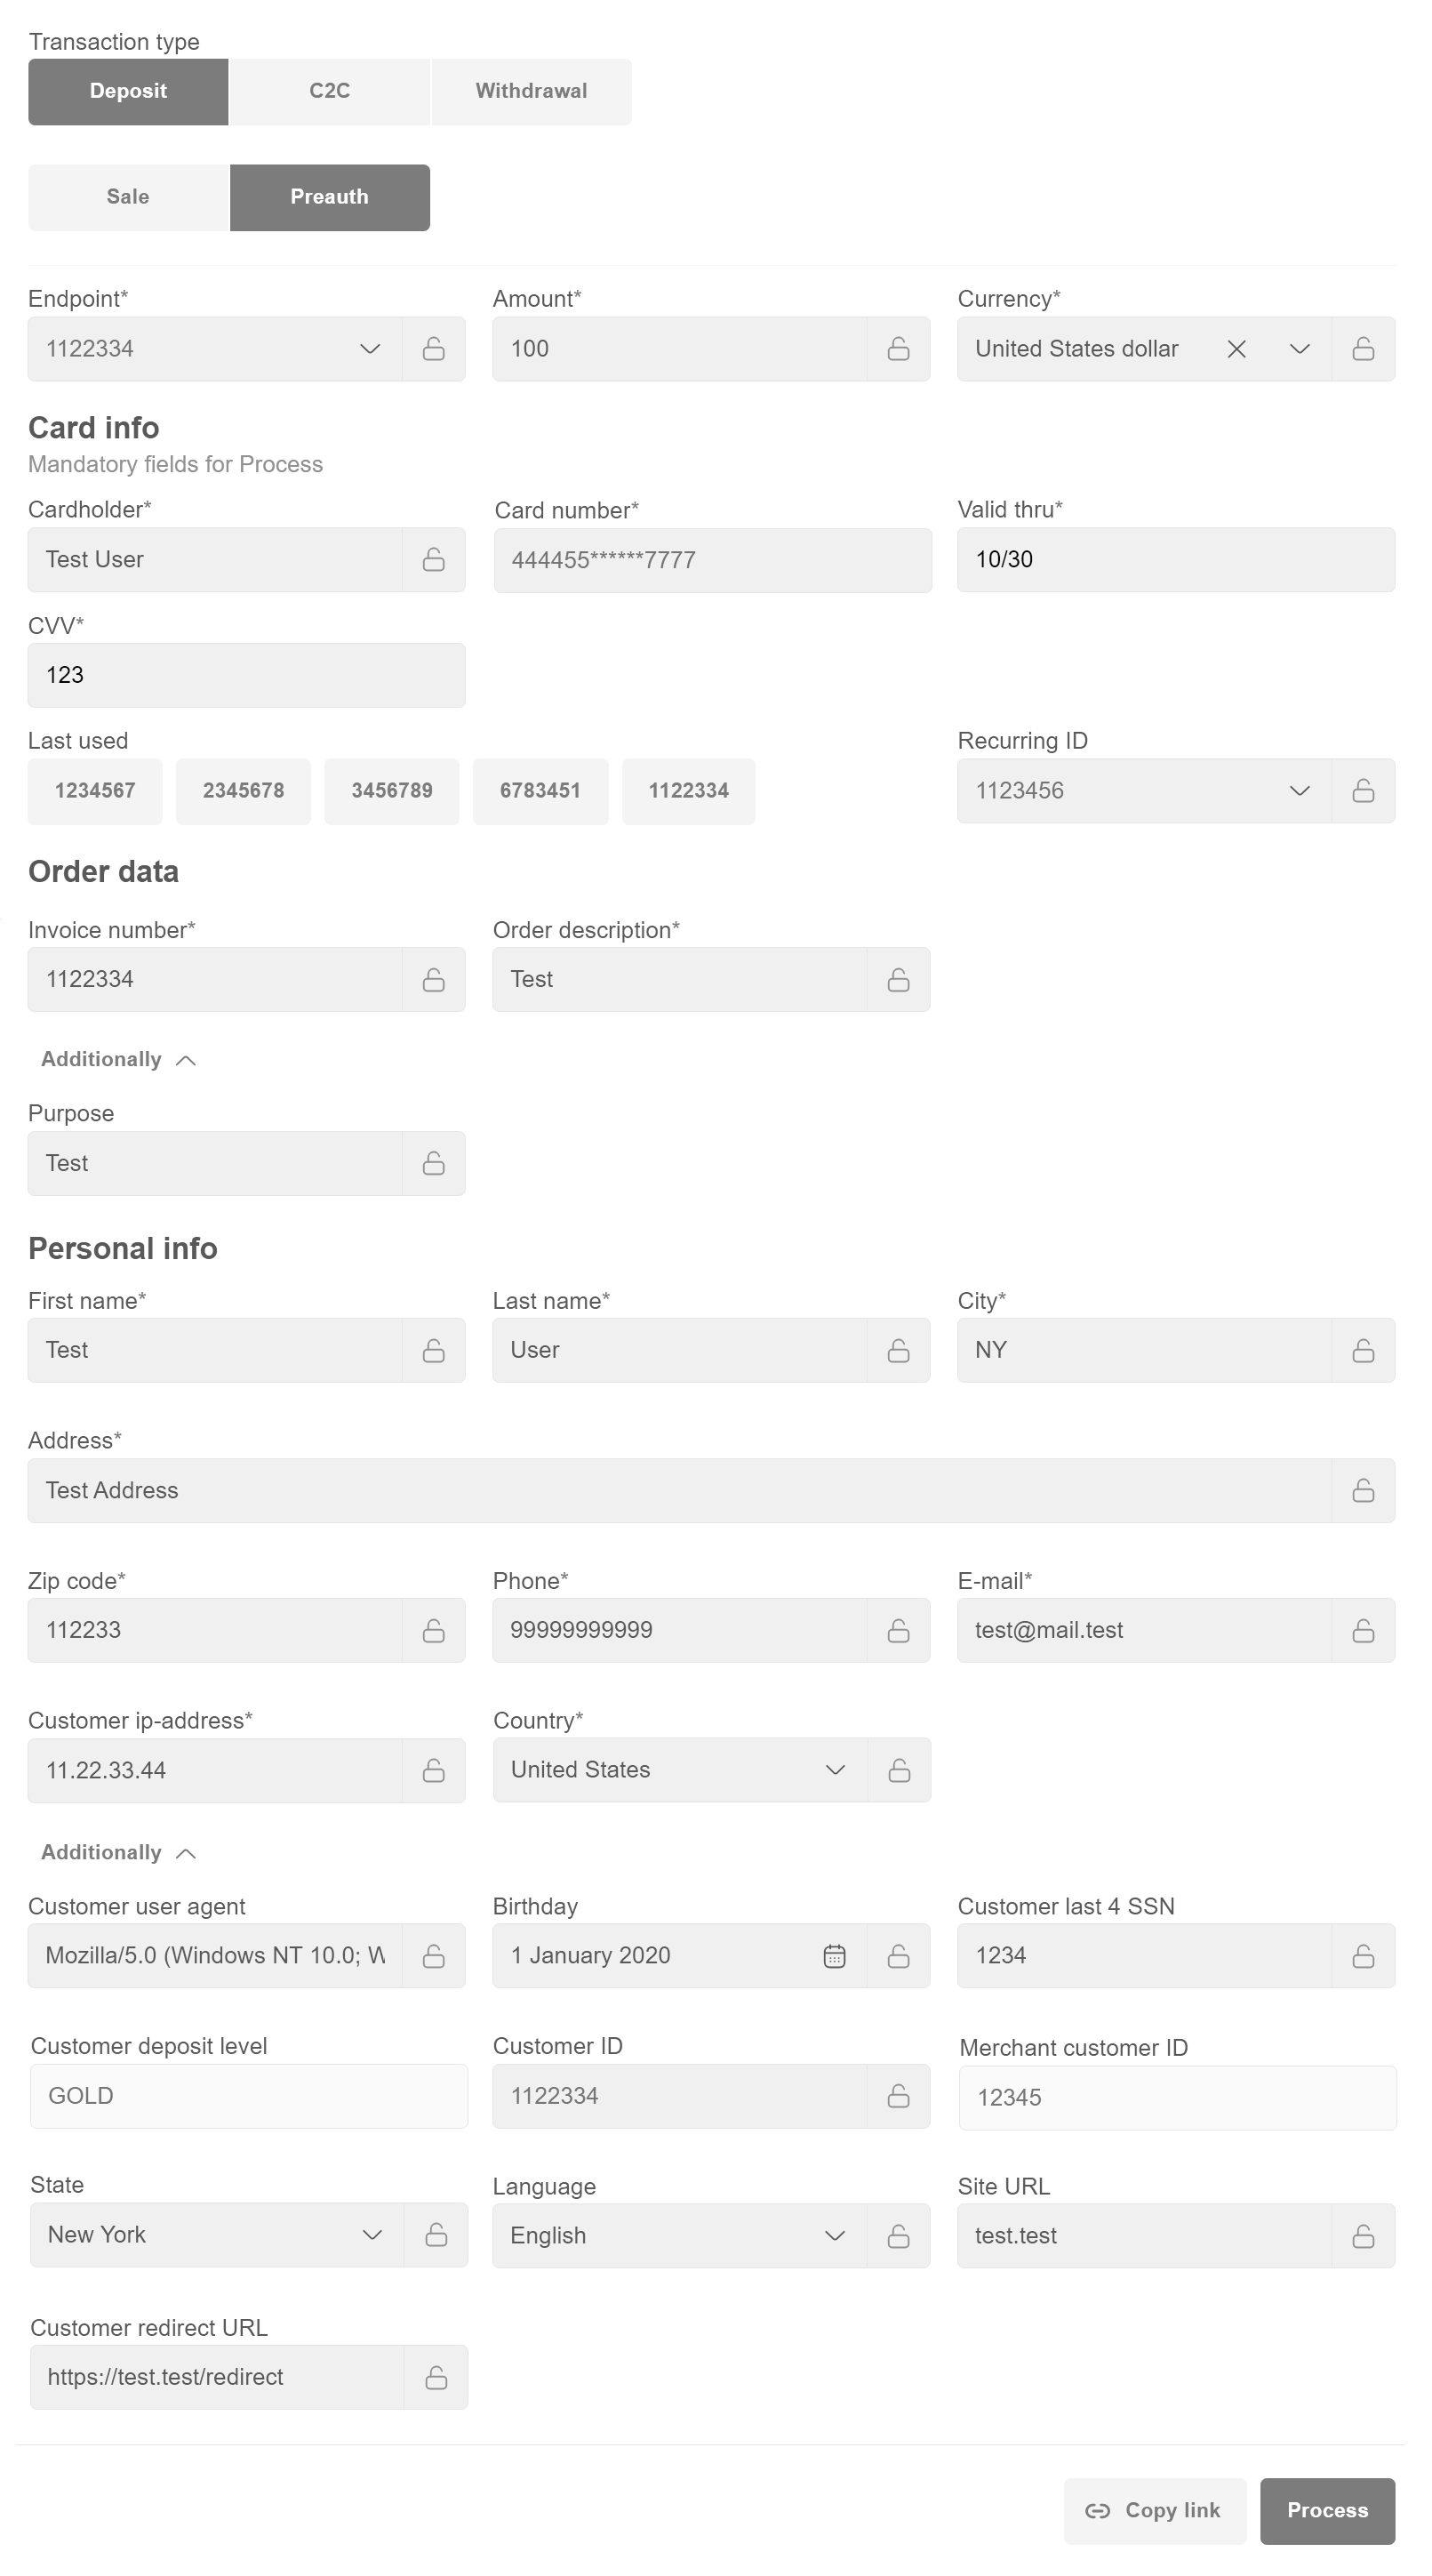
Preauth
- Use “Copy link” button to generate the payment link and send it to the customer. This flow is relevant for transactions which require additional information submitted by customer on the form (cardholder data, 3DS check, etc).
- Use “Process” button if transaction doesn’t require any additional information submitted by customer (e.g. noCVV non3D recurring transactions).
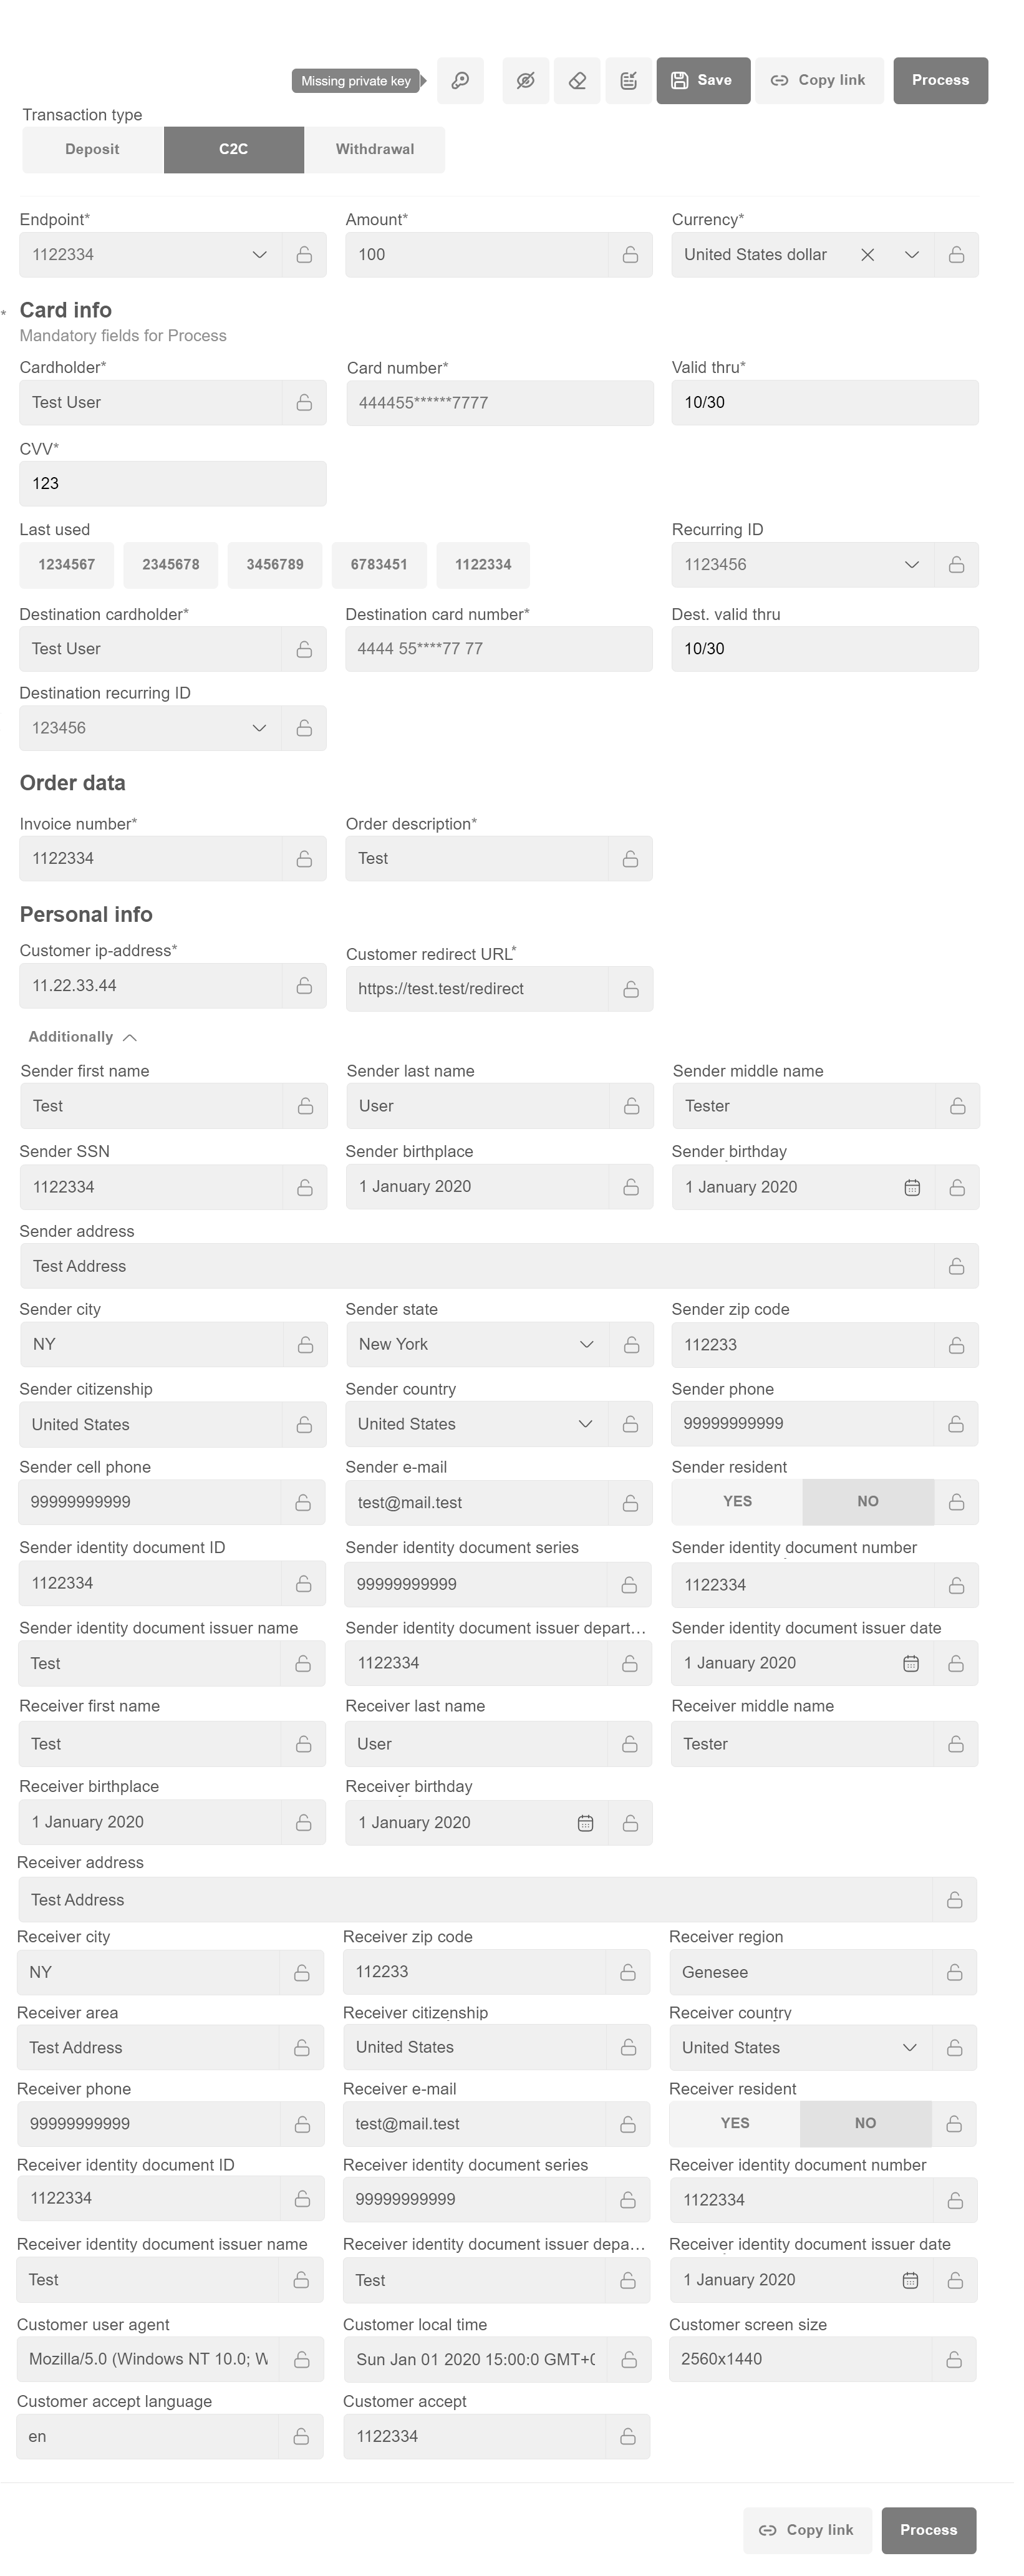
C2C (Card to Card) Transfer
Note
When filling in the Customer ID field, Personal info (First name, Last name,City, Address, Zip code, Phone, E-mail, Country) sections will be filled in automatically.
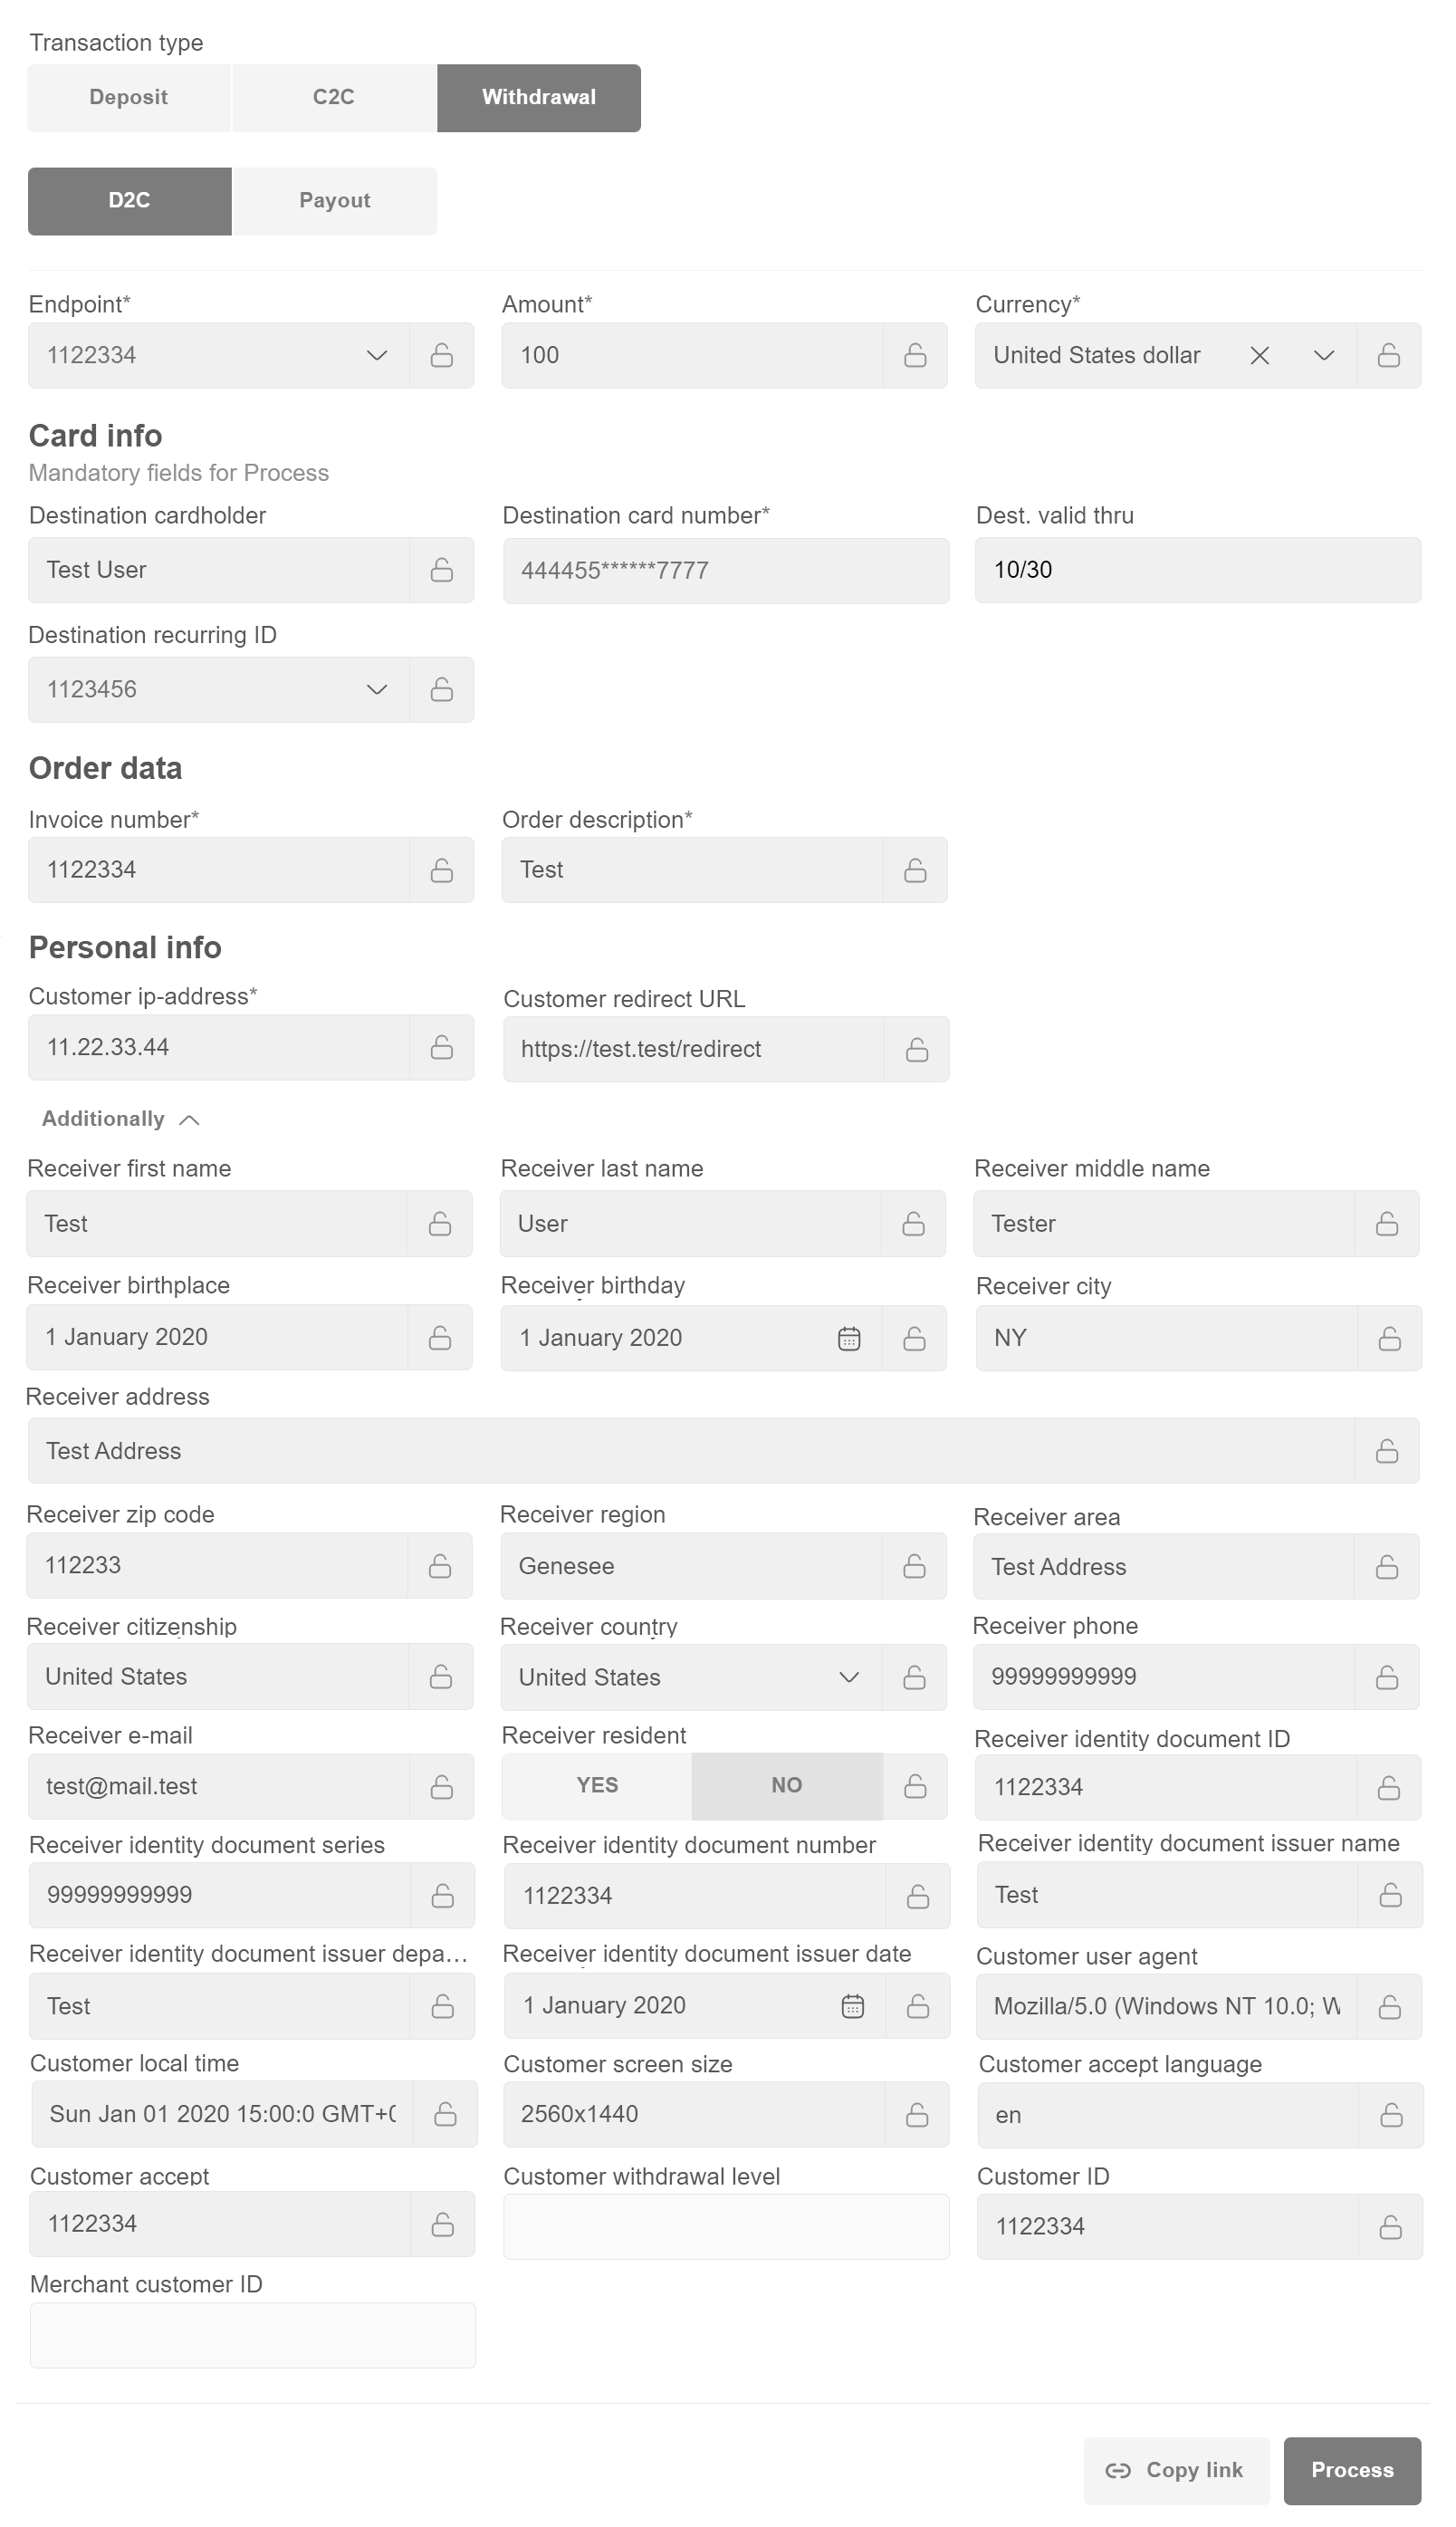
Withdrawal
D2C (Deposit to card) transfer
Note
When filling in the Customer ID cell, Personal info (First name, Last name,City, Address, Zip code, Phone, E-mail, Country) sections will be filled in automatically.
Payout
Note
When filling in the Customer ID field, Personal info (First name, Last name,City, Address, Zip code, Phone, E-mail, Country) sections will be filled in automatically.
